Update a Choice Column in SharePoint from User Input in PowerApps
Scenario:
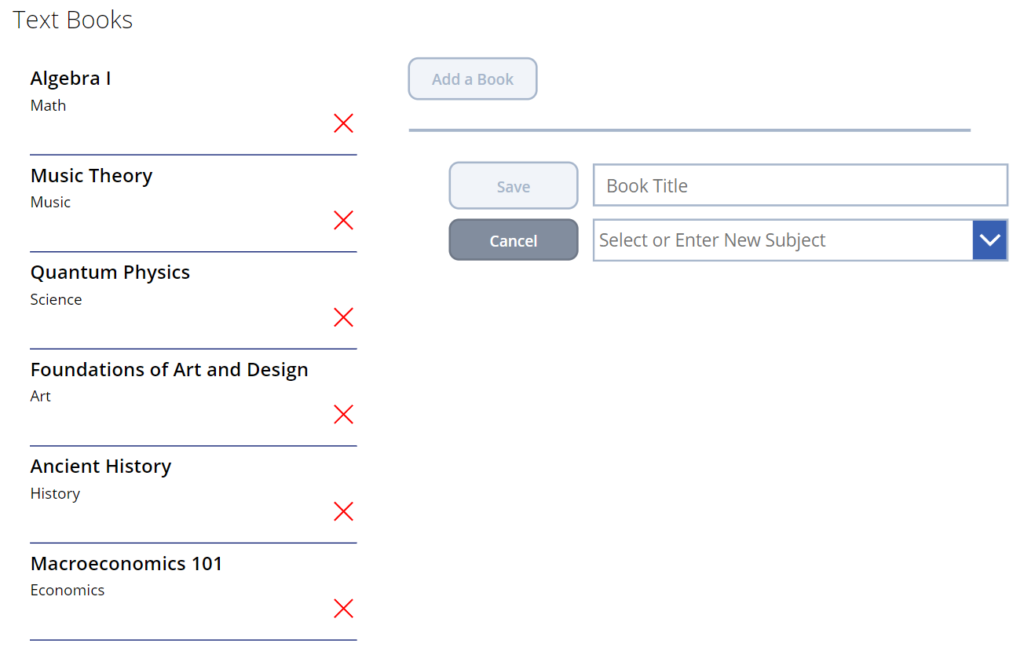
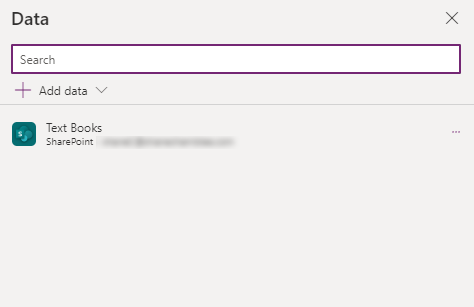
Let’s imagine the client maintains a list of text books in SharePoint. The list includes the title of the book and the subject. The Subject field is a choice column with the choices “Math, Music, Science, Art”.
The client is using a Canvas App to add new books to the list. But sometimes their users need to add a book on a new subject that is NOT currently one of the choices in the Subject column. The client wants the user to be able to add a new subject to the choice column directly from the Canvas App while also adding the new text book to the list.
So we need…
- A gallery for viewing the books in the list
- A set of inputs and controls for adding a new book
- A flow for adding new subjects to the choice column
Solution:
In order to update a choice column in SharePoint from PowerApps, we will need to create a Flow in PowerAutomate. So let’s start there.
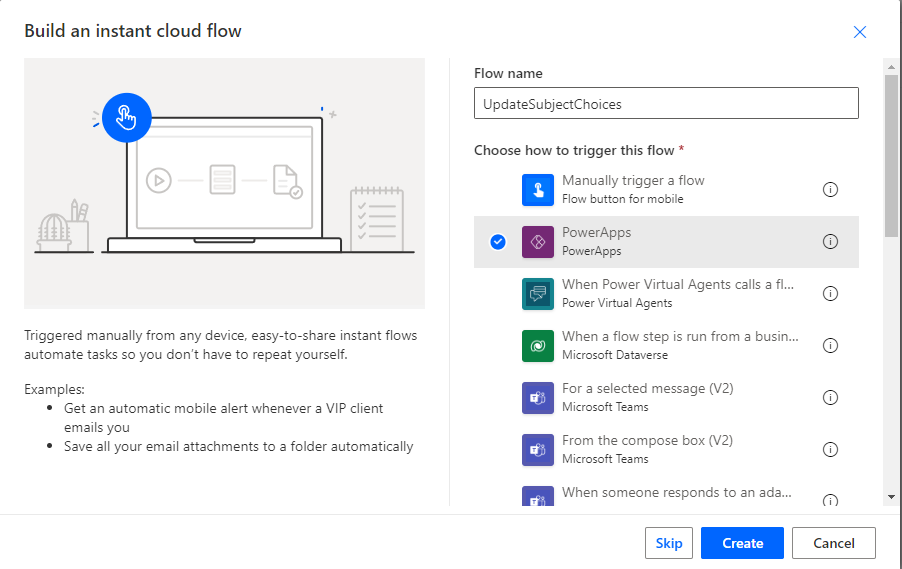
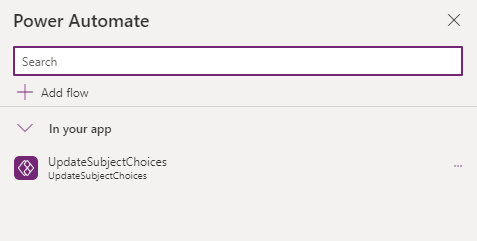
PowerAutomate – “UpdateSubjectChoices” Flow
This flow will be triggered in a canvas app. It will get the current choices from the Subject field in our Text Books SharePoint list. Then, it will add the new choice item and update the Subject choice column.
Create an instant cloud Flow that will trigger from PowerApps
First we’ll initialize the following variables…
listName
Type: String
Value: [Ask in PowerApps]
fieldName
Type: String
Value: [Ask in PowerApps]
newChoiceItem
Type: String
Value: [Ask in PowerApps]
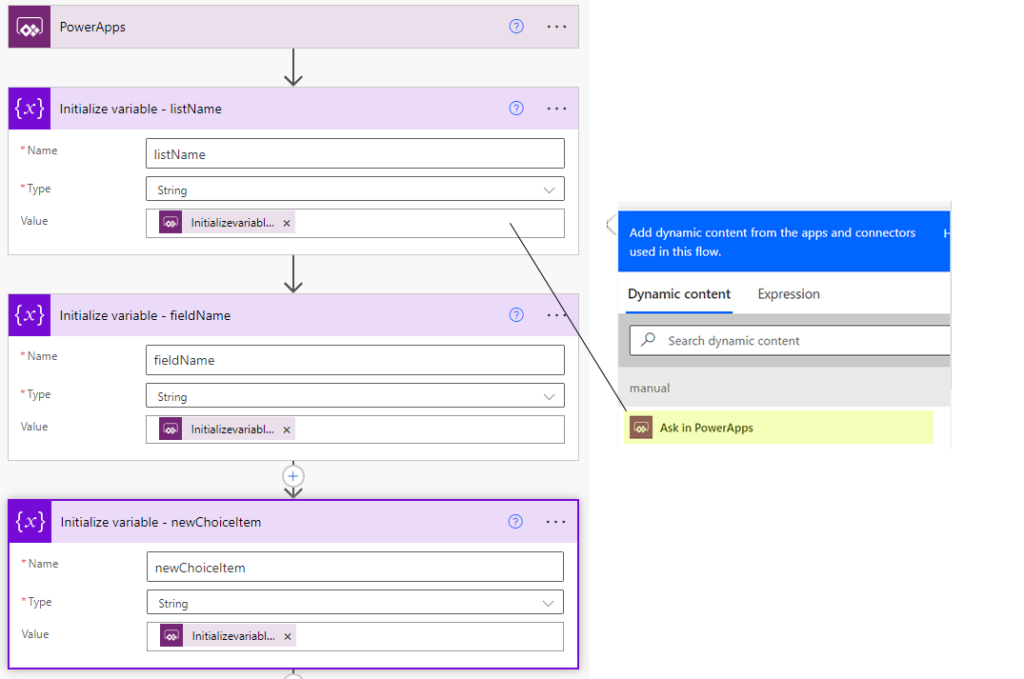
Each variable above is of Type string and for the Value we choose the option in Dynamic Content called Ask in PowerApps. This will allow us to pass the string values from the canvas app to the flow later.
Next, we’ll use an HTTP request to get the current choices from the Subject field in the Text Books list and parse the JSON response to get the text values of the choices.
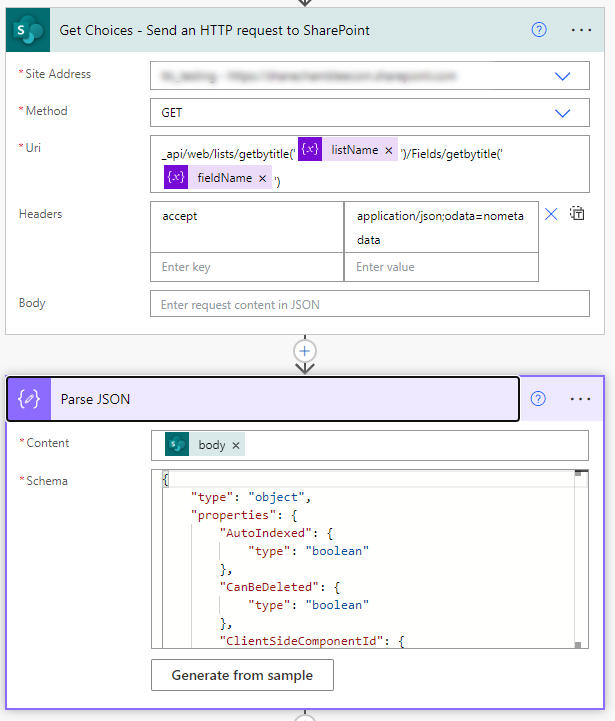
To parse the JSON correctly, we need to provide the schema. We can get the schema by doing a test run of the flow and then copying the output body of the HTTP request.
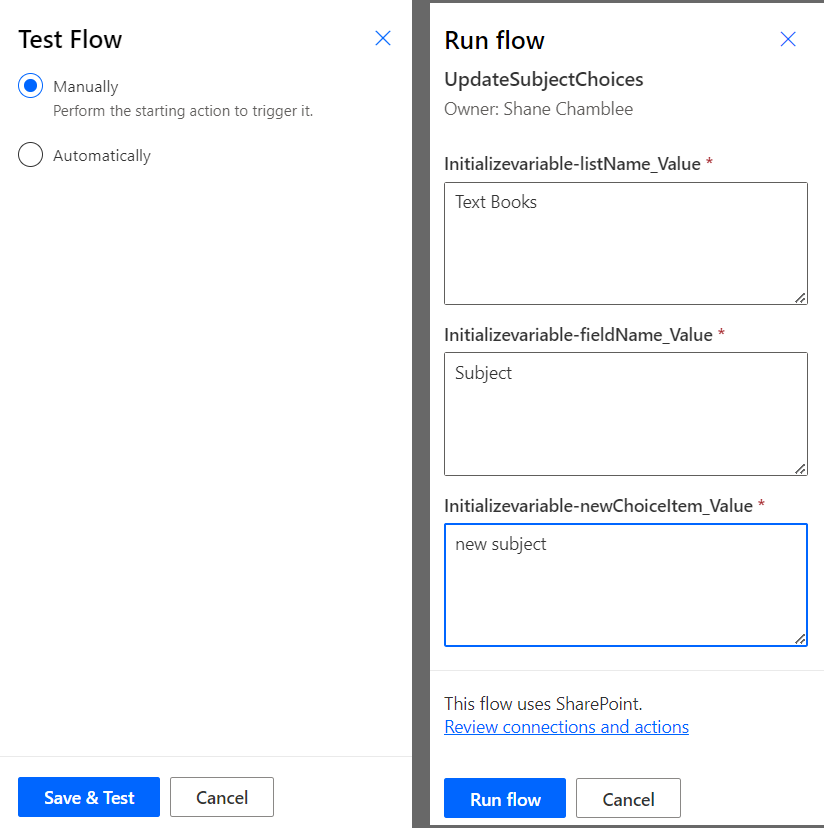
To run a test, click on Test, choose Manually, and then click Save & Test.
Enter the values for the variables manually and click Run Flow.
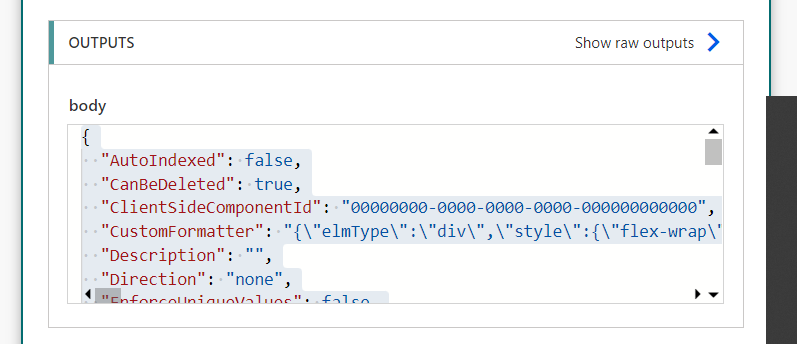
After the test run completes, go to the HTTP request step and select and copy everything in the output body.
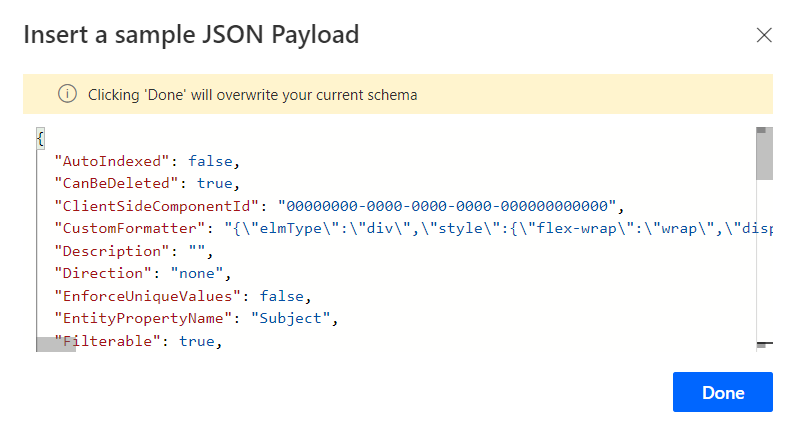
Next, go back into edit mode in the flow and in the Parse JSON step, click the button Generate from Sample. Paste in the output from the HTTP request where it says to insert a sample JSON Payload and click Done.
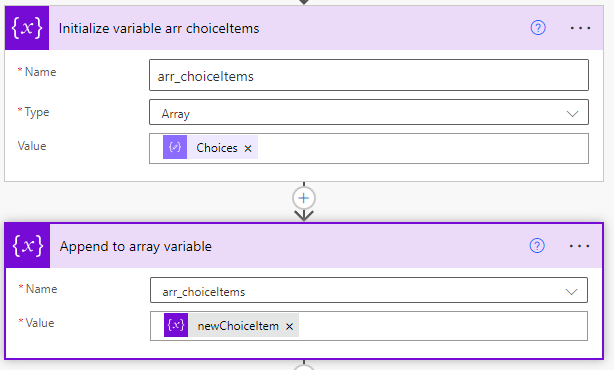
Next, we will initialize another variable
arr_choiceItems
Type: Array
Value: [In Dynamic Content, select the Choices property under Parse JSON]
The next step is to append the new choice item to this variable. Using the Append to array variable step, we add the value in the newChoiceItem variable.
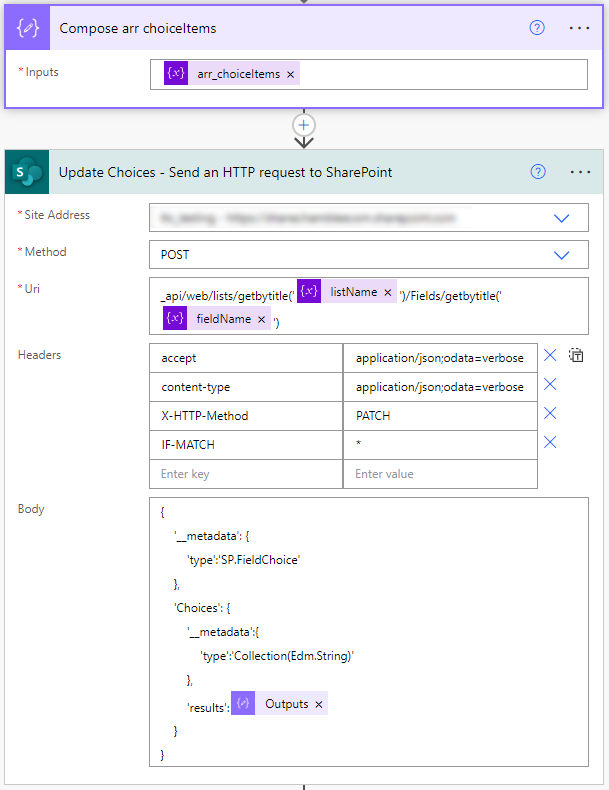
Then we use a Compose operation to make the data in the arr_choiceItems array available as a string for use in the next HTTP request. The HTTP request from earlier in the flow used GET to fetch the choice items from the SharePoint list. This HTTP request uses the POST method to write the updated choices back to the choice column in SharePoint. The request body must include the metadata specifications seen below but it is in the results property of the Choices object where we put the newly updated choices (by getting them from the output of the Compose operation).
Finally, the flow must respond back to the PowerApp and let the user know if the flow was successful or not.
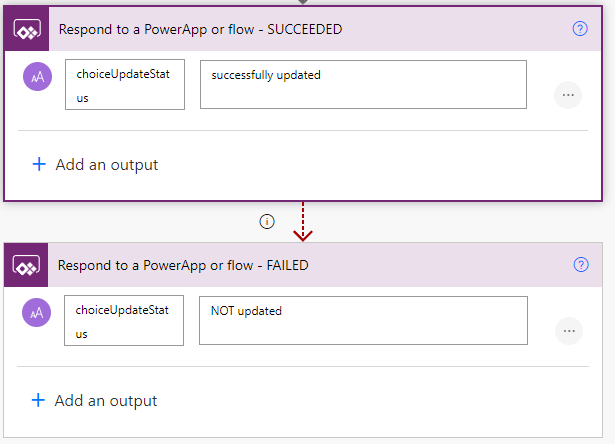
So we create one Respond to PowerApp step with its “Configure run after” options set to run if the preceding HTTP request is successful.
Then we create another Respond to PowerApp step with “Configure run after” options set to run if the preceding Respond to PowerApp fails, is skipped, or times out.
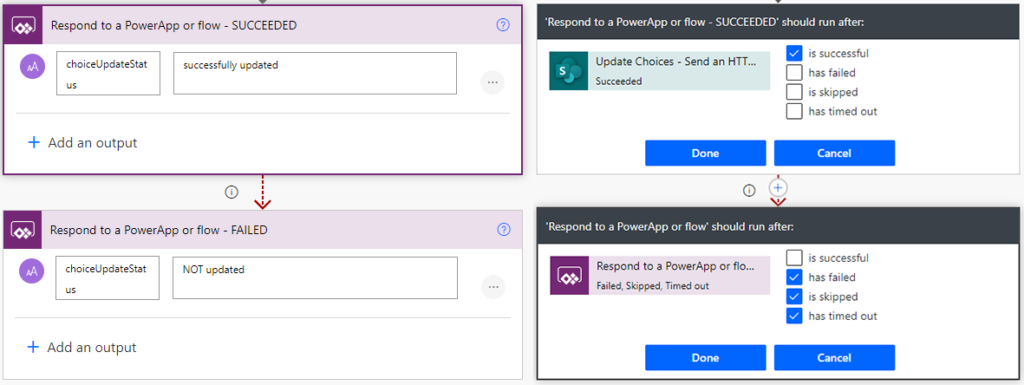
Both SUCCEEDED and FAILED responses are Text responses named choiceUpdateStatus. The successful response text is “sucessfully updated” and the failed response text is “NOT updated”. These will be displayed in the canvas app for the user.
PowerApps – “Update Text Books” canvas app
The canvas app is already built to view, add, or remove text books from the list. Now we will modify it so that users may also add new items to the Subject choice column.
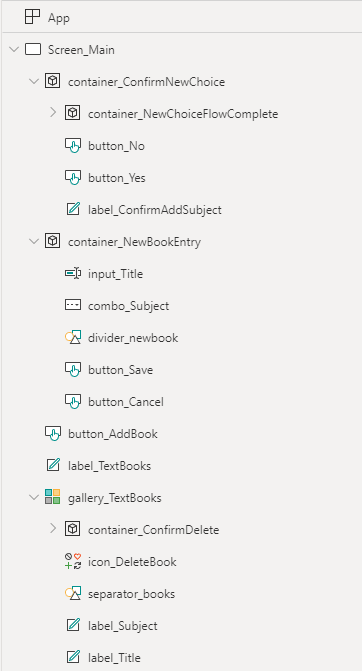
Canvas App Components:
Controls
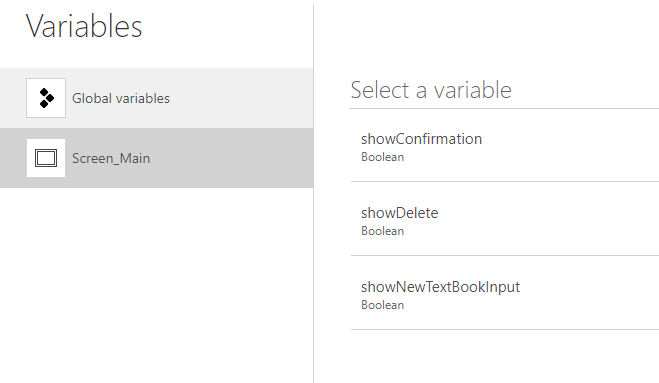
Variables
Connections
First, we make the input control for selecting the Subject a Combo box rather than a typical Drop down. We name it combo_Subject.
Next, we turn its Allow multiple selections option Off and its Allow searching option On. This makes it effectively function like a drop down while also allowing us to use the search text field in the Combo box for inputting a new subject..
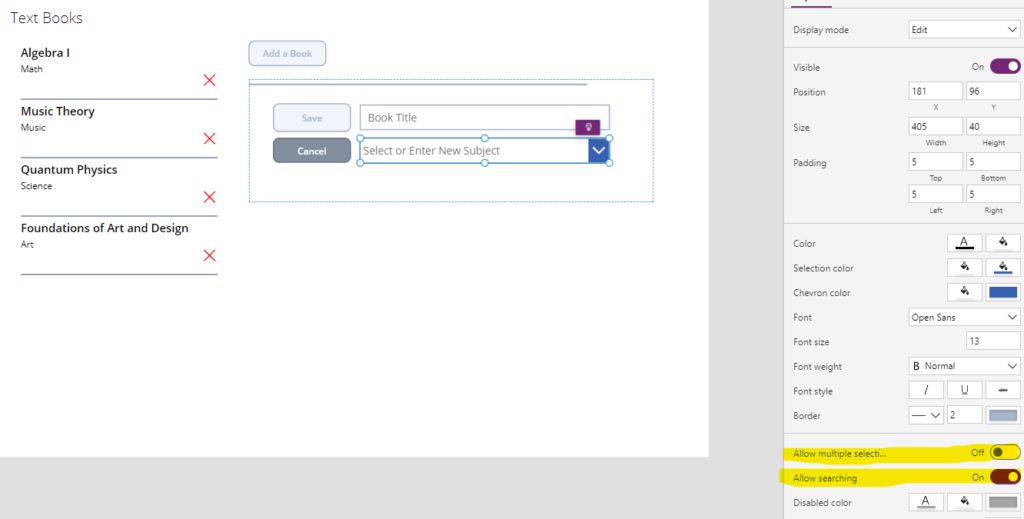
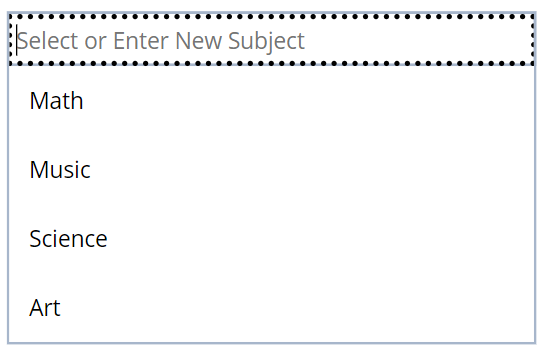
The Items property of combo_Subject will be set to Choices('Text Books'.Subject) and the InputTextPlaceholder property set to "Select or Enter New Subject". This will set the items in the Combo box to the existing Subject column choices and will display the text “Select or Enter New Subject” when nothing is selected or entered.
If you preview the app at this point and expand the Combo box, you will see the current items from the Subject choices column (only one can be selected at a time just like a typical Drop down because we turned off multiple selections) AND you will also see a dotted border around the control with a cursor. This is the search field for finding items in the Combo box, but we are going to re-purpose it as an input for adding new Subjects to the choices column.
Next, we will setup the Save button that we named button_Save. We only want the Save button to be enabled if the user has both entered a new book title AND either selected an existing subject or entered a new one in the search field. First, we need to be aware that the Combo box’s search field contents can be accessed via the property SearchText… i.e. combo_Subject.SearchText.
We need to add some logic in button_Save’s DisplayMode property to either put it into Edit mode or Disabled mode.
We want to check if the user has typed a subject that already exists (to prevent an existing subject from being re-added to the choices multiple times) and check that the user has NOT selected (clicked) any of the existing choices in the drop down box (combo_Subject.Selected.Value). We also want to check if the book title input (input_Title.Text) is blank.
If either of these are true, we want the Save button to be disabled because we don’t want to continue if the user has not added the book title or has not selected an existing subject and/or typed in a subject that already exists. Otherwise if either of them are false it means the user has either selected an existing subject or entered a new one. This is what we want. So in that case, we want to enable the Save button by putting it in Edit mode.
The formula in button_Save’s DisplayMode:
If(combo_Subject.SearchText in Concat(Choices('Text Books'.Subject),Value) && IsBlank(combo_Subject.Selected.Value) || IsBlank(input_Title.Text), Disabled, Edit)
When the user clicks Save, we want to check if they’ve entered a new subject (which would be in the Combo box’s search field – combo_Subject.SearchText). If they have NOT entered a new subject, then we can go ahead and directly patch the Text Books list in SharePoint and reset the book title and subject inputs. If they HAVE entered a new subject, then we will display a confirmation dialogue to confirm the user really wants to add that item to the Subject choices column.
button_Save’s OnSelect formula:
If(
    IsBlank(combo_Subject.SearchText),
    Patch(
        'Text Books',
        {
            Title: input_Title.Text,
            Subject: combo_Subject.Selected
        }
    );
    Reset(input_Title);
    Reset(combo_Subject),
    UpdateContext({showConfirmation: true}) //change visibility of confirmation dialogue
)
Confirmation dialogue:
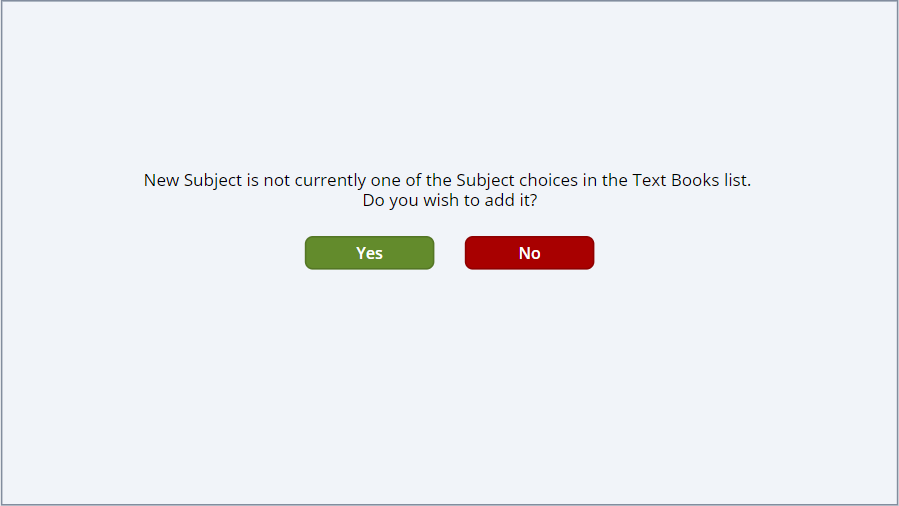
The label_ConfirmAddSubject’s text dynamically includes the text of the new subject being added so the user can see it again and be certain it’s correct before selecting Yes.
The Text property for label_ConfirmAddSubject:
combo_Subject.SearchText & " is not currently one of the Subject choices in the Text Books list.
Do you wish to add it?"
The No button will simply hide this confirmation dialogue and take the user back to the original view for entering new text books. The button_No OnSelect property: UpdateContext({showConfirmation: false})
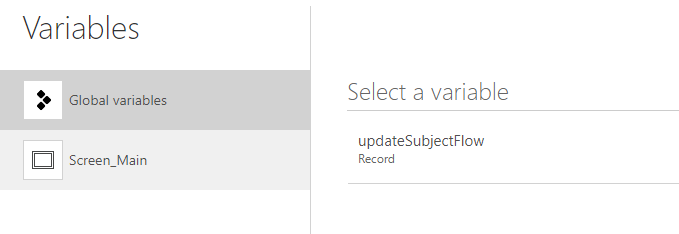
The Yes button will run the flow for updating Subject Choices and store the response from that flow in a variable called updateSubjectFlow. The button_Yes OnSelect property:
Set(
    updateSubjectFlow,
    UpdateSubjectChoices.Run(
        "Text Books",
        "Subject",
        combo_Subject.SearchText
    )
);
Patch(
    'Text Books',
    {
        Title: input_Title.Text,
        Subject: {Value: combo_Subject.SearchText}
    }
)
We pass 3 strings to the UpdateSubjectChoices flow (“Text Books” [name of SP list], “Subject” [name of the choices column], combo_Subject.SearchText [new subject text]).
Then we patch the “Text Books” SP list with the new text book – title and subject (which in this case will be the combo_Subject.SearchText).
When the UpdateSubjectChoices flow returns a response… remember from earlier…
…another dialogue will be displayed showing the results of the flow to the user. We show/hide the dialogue by setting the Visible property of container_NewChoiceFlowComplete to !IsBlank(updateSubjectFlow) so that if the variable containing the flow response is blank then the dialogue is NOT visible… if it is NOT blank then the dialogue is visible.
If successful, it returns the text “successfully updated”. If not successful, it would read “NOT updated”.
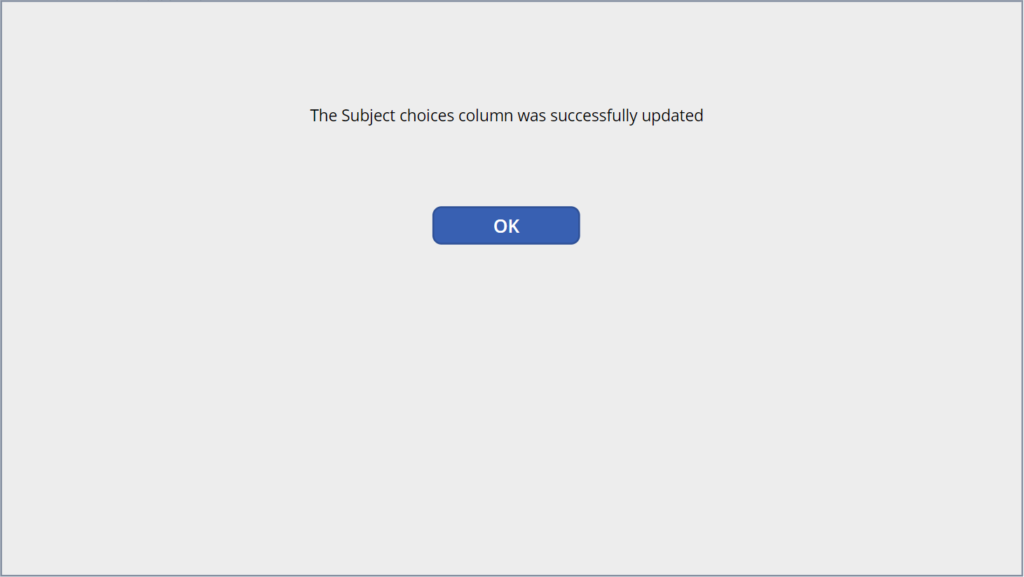
The OK button (button_OK) will set the updateSubjectFlow variable to blank, reset the inputs, and hide the confirmation dialogue so the user can access the controls to enter another text book if needed.
The button_OK OnSelect property:
Set(updateSubjectFlow, Blank());
Reset(input_Title);
Reset(combo_Subject);
UpdateContext({showConfirmation: false})
Summary:
We now have an app that not only adds and removes books from the Text Books list but can also update the subject choices directly from the canvas app via a flow in PowerAutomate.